
You want your wedding to be the perfect representation of you and your future spouse’s personalities. It should highlight the things you love and accentuate what makes you, you. You want your wedding to be memorable and individualistic, an experience that you and your guests won’t soon forget. Adding elegant, small accents here and there will help you achieve this goal; and we have some great ideas you can use!
1. Dreamcatchers. If you’re going for a boho chic vibe, incorporate something from your childhood; dreamcatchers can give the atmosphere a dessert romantic feel. They can be used as a backdrop to your ceremony, behind the head table at dinner, or as a focal point to bring attention to your guest book area or dessert table.
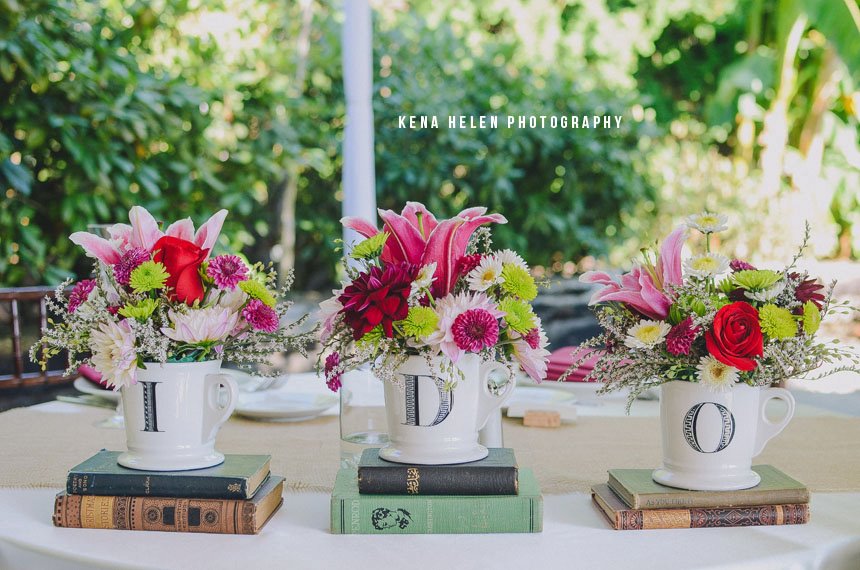
2. Books. Are you a big reader? Go to a nearby used book store and stock up on all your favorite old books. You can even use your favorite books that are lying around your house! Antique stores often have beautiful volumes of classic romance novels like Pride and Prejudice.
3. Frames. Frames are great because they can be used for pretty much anything you want to showcase. If you want to use pressed flowers to integrate your floral scheme in a creative way, you can frame them and hang them in structures around your venue (doorways, gazebos, arches, trees…anywhere the venue can offer stable support). Frames can also be used plainly without any photos, etc. as hanging décor.
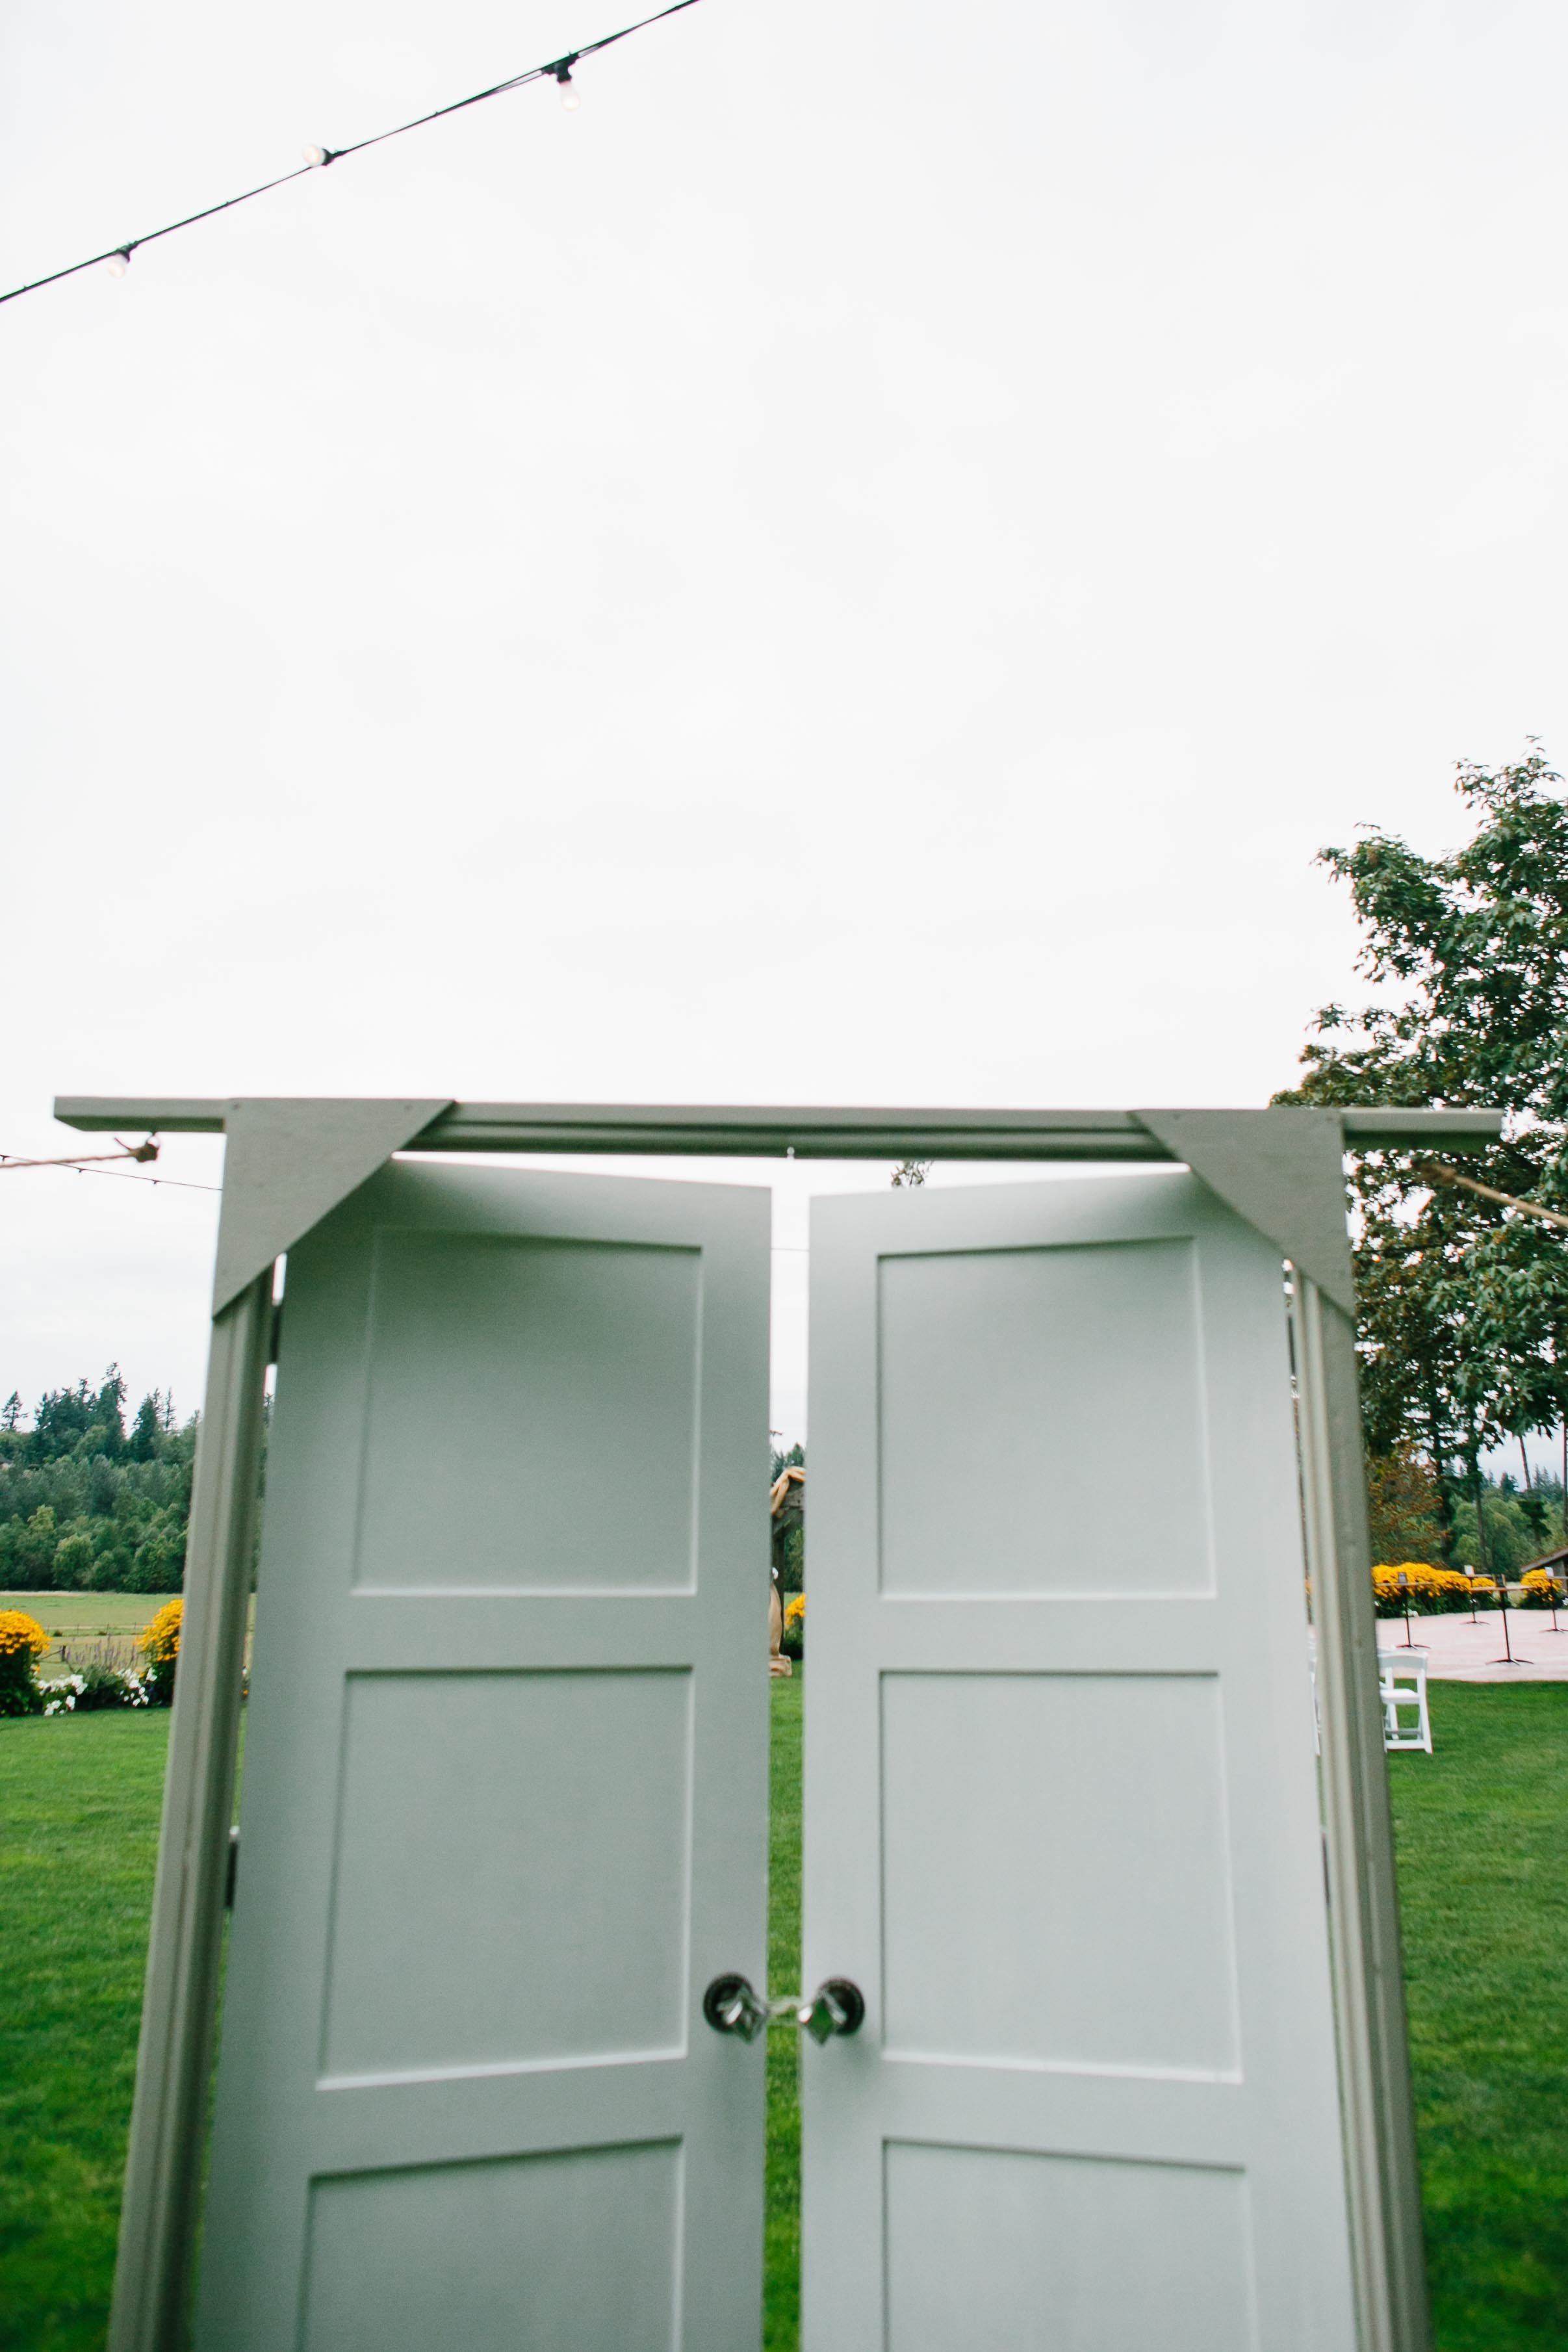
Photo by Melissa Kilner Photography
4. Wood rounds. If you’re looking for a more earthy display, you can use wood rounds to hold centerpieces, candles, glassware, cupcakes—it adds a natural tone to pretty much anything you want to display!

5. Chalkboards. Bringing it back again to a piece of décor that was found in the early days of school—except it had a different purpose back then! Chalkboard art is trending right now, and it’s a good thing too, because it’s a beautiful, vintage note when added to the décor of any wedding. You can use a chalkboard to showcase notes of love, special quotes, or simply, directions for your guests (i.e. “Restrooms to your left”). The possibilities are boundless, as are the witty puns you end up using as well.

Photo by Juan Kis Photography
6. Horse shoes. This doesn’t necessarily fit with any general theme of décor…but it’s so sweet, we had to include the idea here! Horse shoes are rustic and bring a hint of the country to your event. They can be used to encircle candles or as a prop within a centerpiece. They can also be hung (from a sturdy structure) and wrapped in flowers as a sort of small, rustic wreath. If you’re a country pair, there are so many ways you can include this idea in various aspects of your wedding day décor.

Photo by Basia Baz Photography
Hopefully one (or multiple) of these ideas catch your eye and come in handy on your big day. If not, here’s to hoping they spark another idea instead!