
Welcome back to all things veils! Last week I brought you a complete list of wedding veils -http://www.elegantaffairswa.com/our-blog/2016/5/13/the-wedding-veil. Now that you've selected the style you love, here's how to make sure the veil looks photo ready on your big day!
Choosing the right veil:
- Be sure to match the color of the veil to your wedding gown. In order to do this make sure you bring a swatch of fabric from your dress when you go veil shopping!

Care:
- Hang up your veil when you first receive it to naturally loosen wrinkles.
- Store it hung and away from sunlight until your wedding day- peeking is allowed!
- A long tulle veil may wrinkle easily, so be sure to steam your veil the night before your wedding (no iron! This can discolor or damage the veil)

How to wear:
- Consult your hairstylist! Like I said in my last post- Don’t forget to keep your stylist in the loop!
- For outdoor ceremonies (especially on windy days), consider loosely wrapping your veil around one arm. (Your maid of honor will thank you after!)
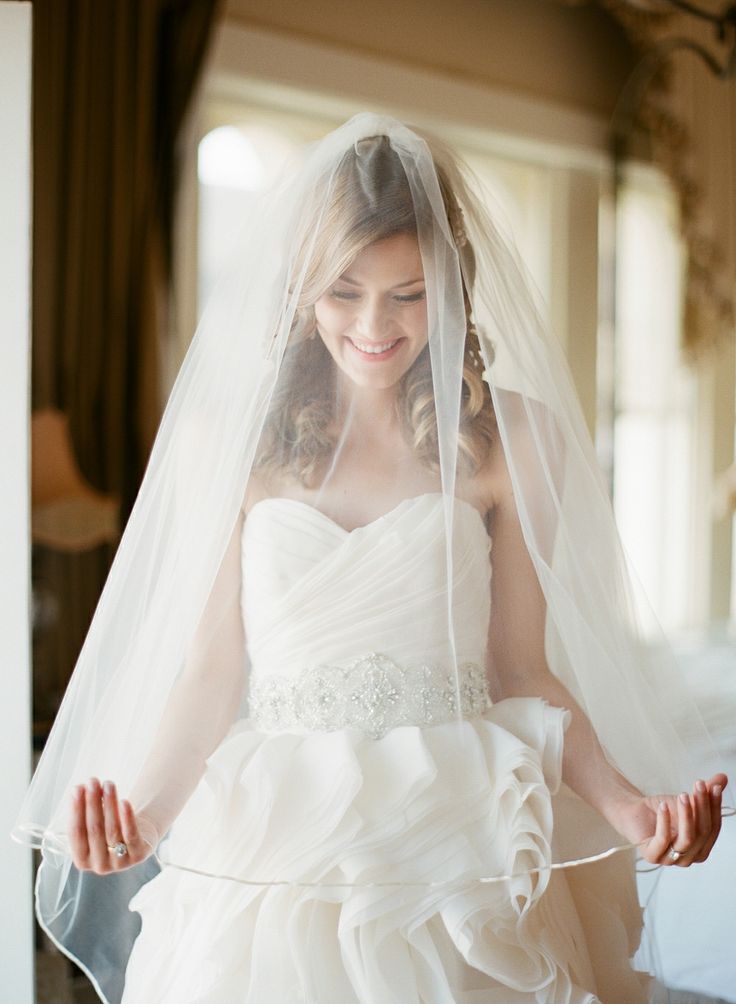
For any of you DIY'ers- How to properly fasten a veil:
- For the most secure hold, fasten your veil by first flipping its comb upside-down (teeth facing up). The “U curve” of the comb should curve away from your head.
- Slide the comb upward so that it grabs a bit of hair and then flip over so that the “U curve” correctly cups the back of your head, wiggle that into place and voilà!




Quisque iaculis facilisis lacinia. Mauris euismod pellentesque tellus sit amet mollis.